Back
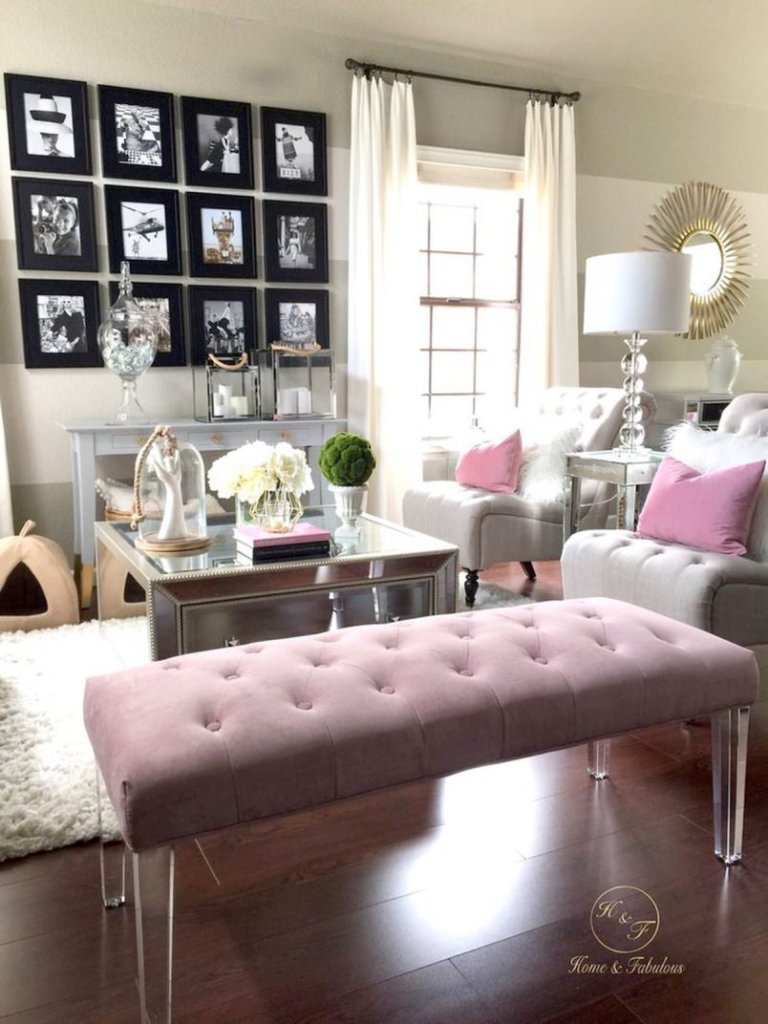
It just takes a little determination to design a gallery wall

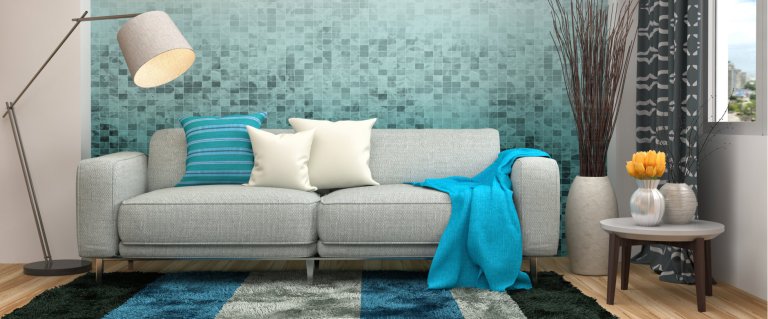
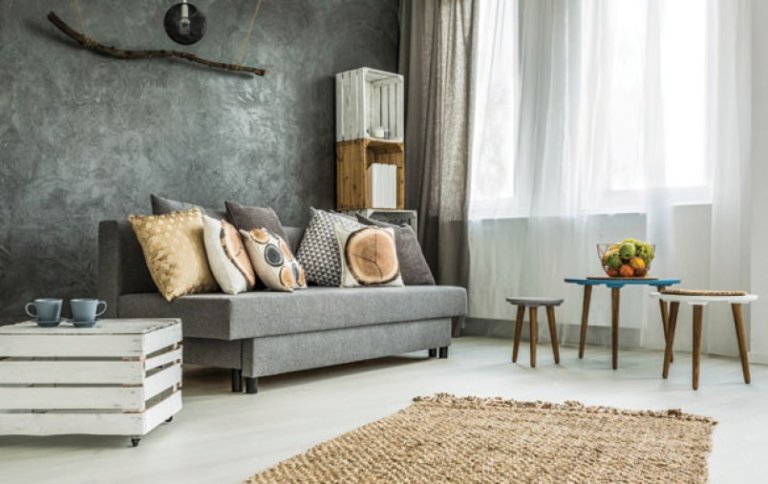
Gallery walls, also called moment walls, are one of today's hottest home decor trends. Gallery walls enable homeowners to create visually appealing groupings of photos, frames, wall art and more to dress up any room.
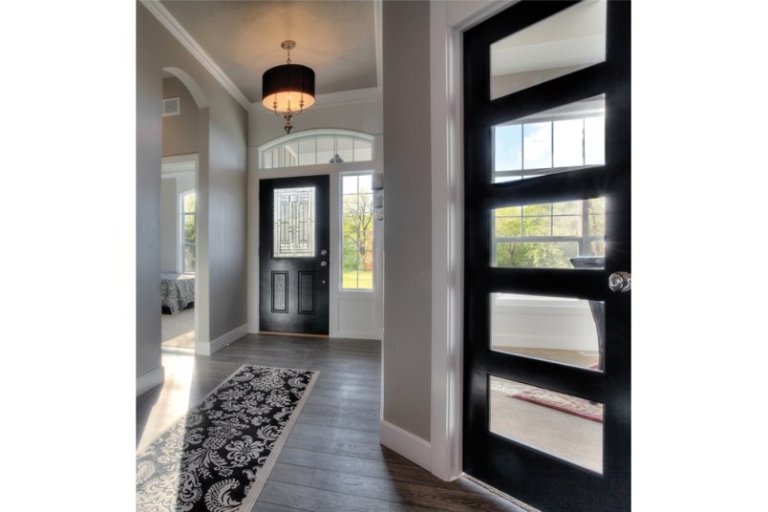
Gallery walls can make a statement in the living room, add finesse to an entryway or showcase special items along a staircase. One need only do a quick Internet search or browse through lifestyle magazines to see examples of gallery walls for inspiration.
Anyone with a little determination can design a gallery wall:
· Find your muse. The first step to creating a gallery wall is to choose a theme. If floral prints are your thing or you love abstract art, build your gallery around these elements. You can even use colour or frame style as the coordinating factor.
· Take your time. Some people rush into creating gallery walls, and that can be a mistake. Spend time picking out pieces and trying different combinations before you take out the hammer and hardware. The mix should be captivating and look like it was a curated collection. Some pieces can be high-end, while others may be picked up at flea markets or even be your own artwork or photography.
· Experiment with dimensions and levels. Gallery walls need not be restricted to flat photos on a wall. Texture and depth can be used in wall designs. Intersperse shelving, sconces, wooden letters, clocks and more to make the gallery even more eclectic. Feel free to build the gallery around items that are in the house, such as windows or TVs. This can help electronics blend into the design.
· Establish your focal point. Pottery Barn suggests making the centre of the display at eye level. Then build the gallery out from around that focal point. There are many patterns that can be built into the gallery, from spiral to centered to reflection designs.
· Create a template. Lay the gallery design on the floor and cut newspapers or other paper to the size of each piece. Use masking tape to position these guides on the wall, trying a few arrangements until you are happy with the finished product. Then replace the paper with the artwork.
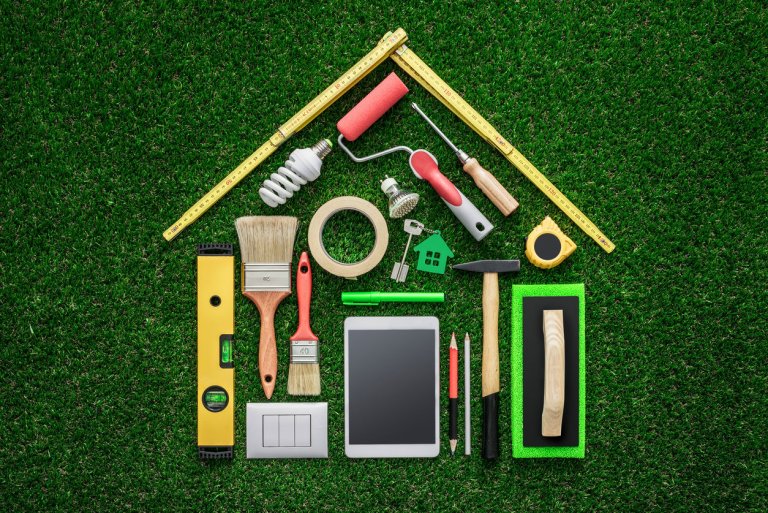
· Hang items with precision. Don't skimp on technique. Use a ruler, level and the right tools. This ensures pieces are straight and in line with others.
By: Delta Optimist
GuidedBy is a community builder and part of the Glacier Media news network. This article originally appeared on a Glacier Media publication.
Guided By
Location
Related Stories
-
Design & Renovations
Spring & Summer Decor on a Budget: How to Create a Beautiful Home for Less
It's finally Summer, which means it's time to freshen up your home decor! But don't worry, you don't have to spend a lot of...
-
Home Decor Vancouver
Refreshing Your Home for Spring/Summer
There are many ways you can refresh your house for the spring/summer season. These projects can provide your house with the...
-
Home & Garden
Spring Cleaning Hacks
When the rain slacks off and the last of the snow is gone, it's time to open up the house and clean! While spring may feel like...
-
Home & Garden Abbotsford
How to Create a Zero-waste Household
Reducing your household waste can help the planet in many ways. You may even be able to eliminate your waste completely if...
-
Home Furniture & Decor Abbotsford
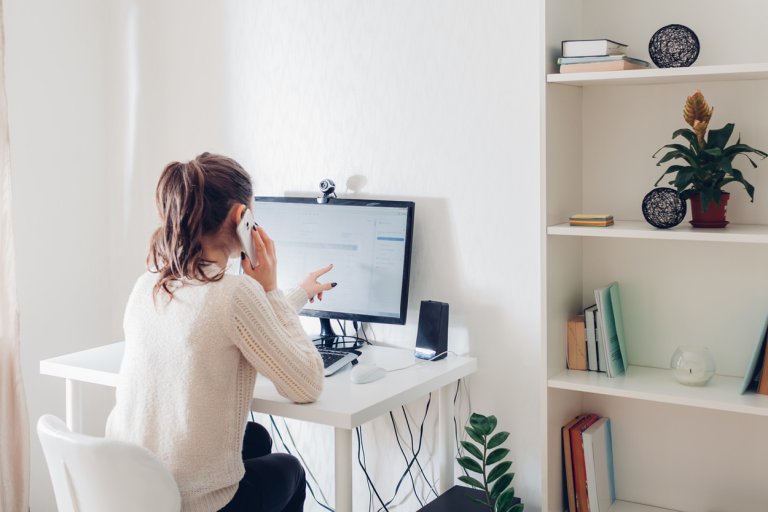
Working from home? 4 tips for your home office setup
Working from home can be a better experience for you with the right office setup. Setting up your in-home office correctly can...
-
Cleaners
5 Cleaning Tips That Will Make Your House Sparkle
If you’re getting ready for spring cleaning or another big home cleaning project, you’ll want to sanitize your living space as...
-
Home Decor
Houseplants You Absolutely Want to Have in Your House
Adding some plants to your interior setting can give your home a greener feel while promoting greater tranquility throughout...
-
Design & Renovations Whistler
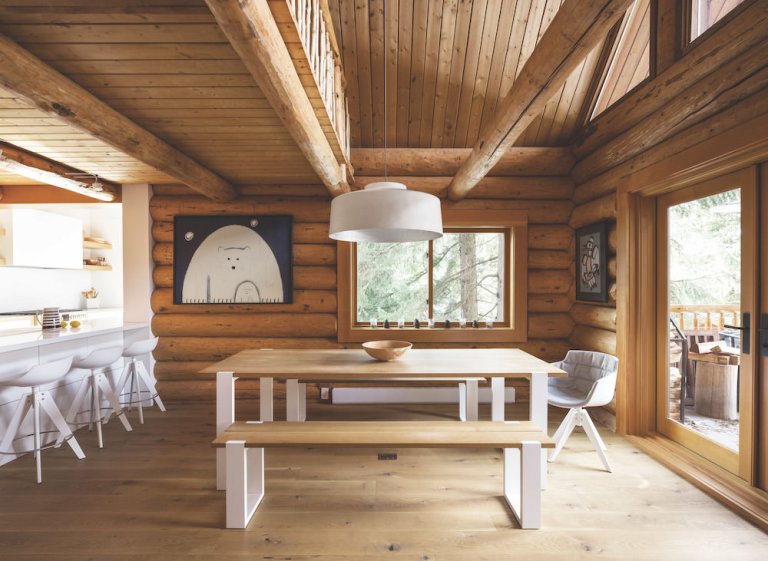
True To Its Past
The romantic and rounded form of the traditional log cabin, once a staple in Whistler’s architectural landscape, has seen its...
-
Home Furniture & Decor Burnaby
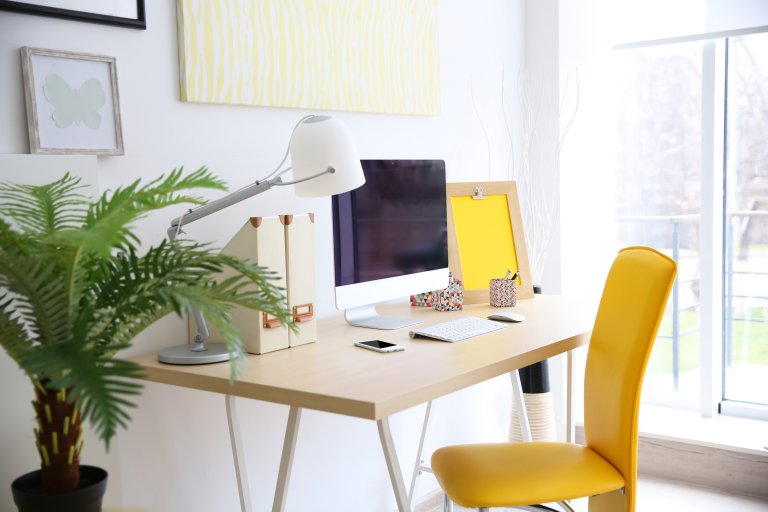
Create an Awesome Home Office Space on A Budget
A small home office doesn’t have to be expensive, but properly planning your space is important so it’s a place you actually...
-
Design & Renovations Vancouver
How To Decorate Your Rental So It Feels Like Home
The right bath and hand towels can add energy to a room. Photo: Barb Lunter Older rental suites can sometimes be plagued...
-
Design & Renovations Vancouver
Spring Decor Tips to Refresh Your Space
Fresh flowers, topical coffee table books and garden ornaments used cleverly indoors are a few ways...
-
Home & Garden Vancouver Island
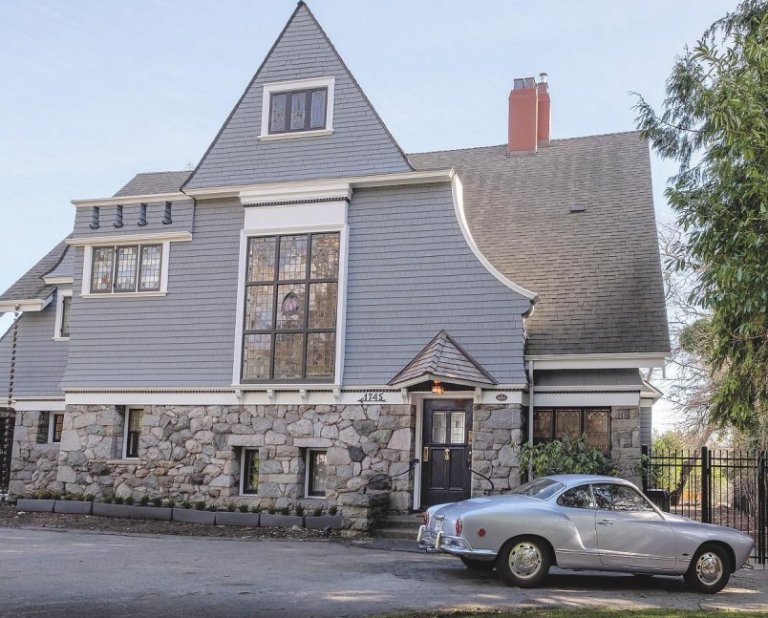
House Beautiful: 120-year-old Rattenbury home gets new life in Rockland
The owners of this handsome 120-year-old home used to live in a custom-designed, ultra-modern house on the waterfront near the...
-
Design + Build
HOME IDEAS: Lift yourself out of post-holiday funk with DIY projects
Taking down the holiday decorations is never a fun task. Once they are all removed the house can look a little bare. In...
-
Garden & Décor Burnaby
How to garden if you don't have your own garden
Paying $160 for the year was a pretty good price for a vacation property. Only eight minutes from Ben’s downtown apartment,...
-
Home & Garden
New plants worth trying
The horticulture industry is gradually catching up with the current home trend of compact living. Smaller, more refined and...
-
Garden & Décor Coquitlam
Five simple DIY weekend projects that can improve your home’s curb appeal
Your front door is the first thing you see when you get home at the end of the day and it’s the first impression your home...
-
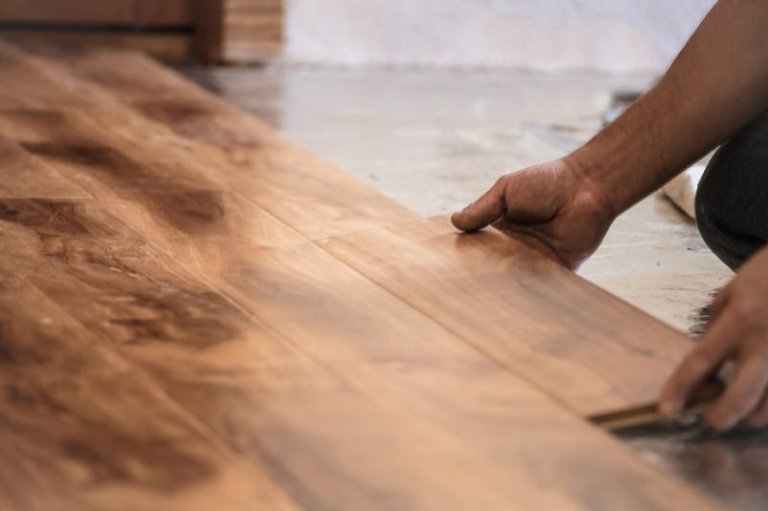
Flooring
HOME IDEAS: Carpet tiles give your floor needed versatility
Environmental consciousness is definitely a priority these days, and it’s interesting to see how it’s spilling into the...
-
Garden & Décor
DESIGN IN NATURE: Garden pests can be dealt with naturally
Everyone should know that using cosmetic pesticides is banned in all three North Shore municipalities. Using these...
-
Home & Garden
Tips to stay tick-free
The first day of spring is a welcome sight for more than just the people of Kamloops – it's a big moment for the...
-
Design & Renovations
Compile a reno or building wish list
If you're planning on renovating your home or building a new one you undoubtedly have some definitive ideas on what you'd like...
-
Cleaners Burnaby
‘Uber for laundry’ moves into Burnaby. Because people are that lazy
Look, I know the headline for this blog seems harsh, but I’m actually not judging. Just stating a fact – people in our...
-
Garden & Décor
HOME IDEAS: Create a guest room that visitors will want to come back to
Are you expecting visitors over the summer holidays? There’s something special about creating a warm and inviting living space...
-
Bathrooms
HOME IDEAS: Bathe your bathroom with simple, modern flourishes
If you were fortunate enough to visit this year’s BC Home + Garden Show here in Vancouver, you may have come home with some...
-
Flooring
Family company built from the floor up
Many family businesses are built from the ground up, but Woodopolis Home Centre literally started with hardwood...
-
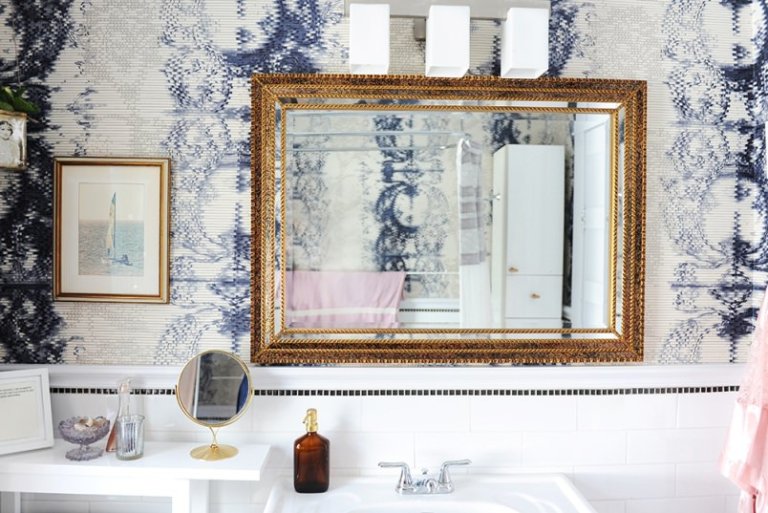
Home & Garden Vancouver
DESIGNER FILES: Wallpaper covers all bases for your interior
If your last interaction with wallpaper was the unforgettably tacky, impossible-to-remove and overused versions that ran...
-
Design & Renovations Delta
Rooms do double duty in smaller homes
Many homes do not have space for guest rooms, play areas and home theatres that are possible in homes with substantial square...
-
Garden & Décor New Westminster
Let's give a shoutout to these multi-tasking plants
When is a garden-variety plant more than a plant? When it provides multiple functions. Take flowering trees and shrubs that...
-
Garden & Décor Burnaby
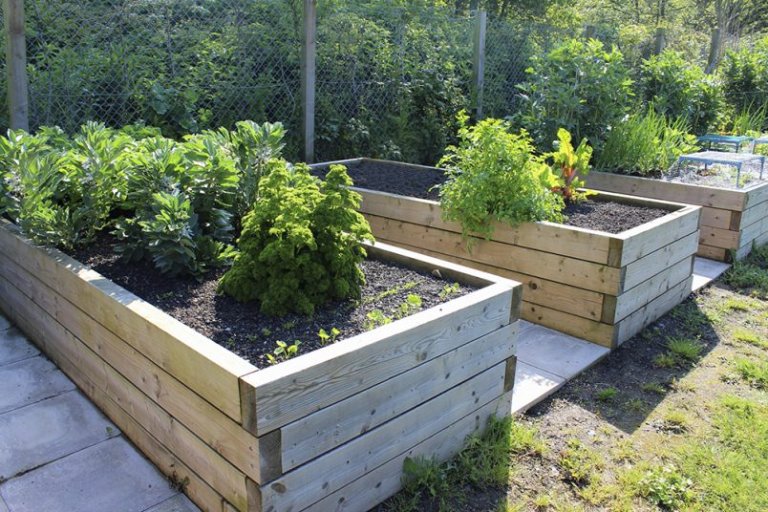
Veggie creep is one of the next big things in gardening
Want to be on the leading edge of your gardening community? We have spent a lot of time forecasting the next big thing for the...
-
Home Furniture & Decor Vancouver Island
Debbie Travis: Benefits of benches include extra seating, storage
Dear Debbie: I was debating with a friend what was an “extra” piece of furniture she couldn’t do without. We agreed that a bed,...
-
Contractors Prince George
Why this Prince George contractor settles for nothing but the best
Sponsored Content “I’m very passionate,” says Robert Rivey, “and I suppose I always do my best.” This sort of...
-
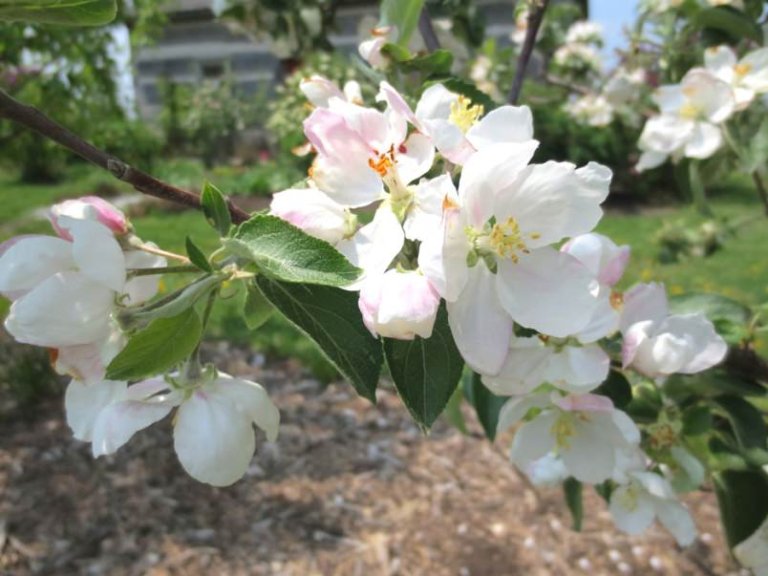
Garden & Décor
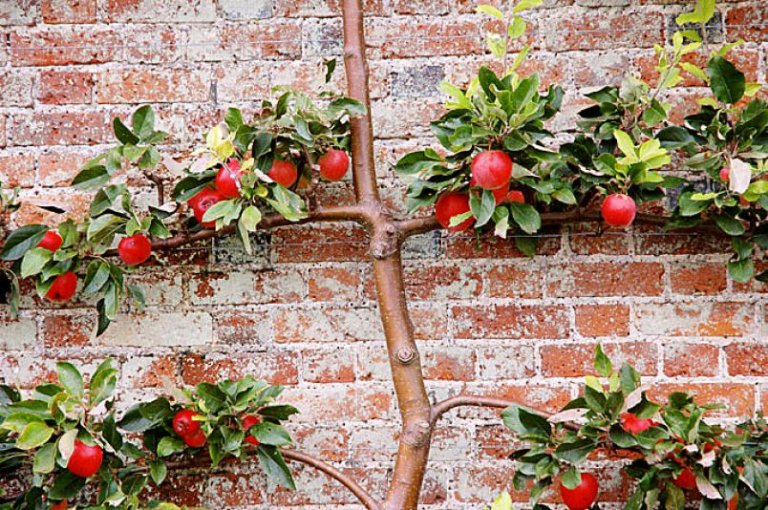
AROUND THE HOUSE: Got fruit trees? Sweet!
You really don’t have to be an expert to prune fruit trees. All it takes is a little common sense and a few helpful hints. As a...
-
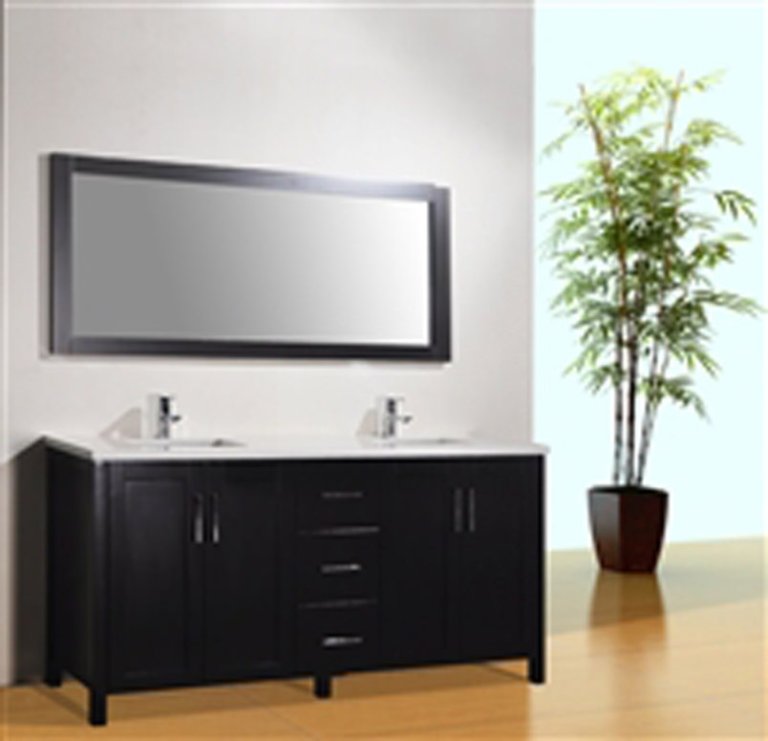
Bathrooms Maple Ridge
Woodopolis: Making local bathrooms beautiful
Sponsored Content Bathroom renovation may not be what people think of when they hear of Woodopolis Home Centre, but...